Understanding DuraShock Aneroid Technology
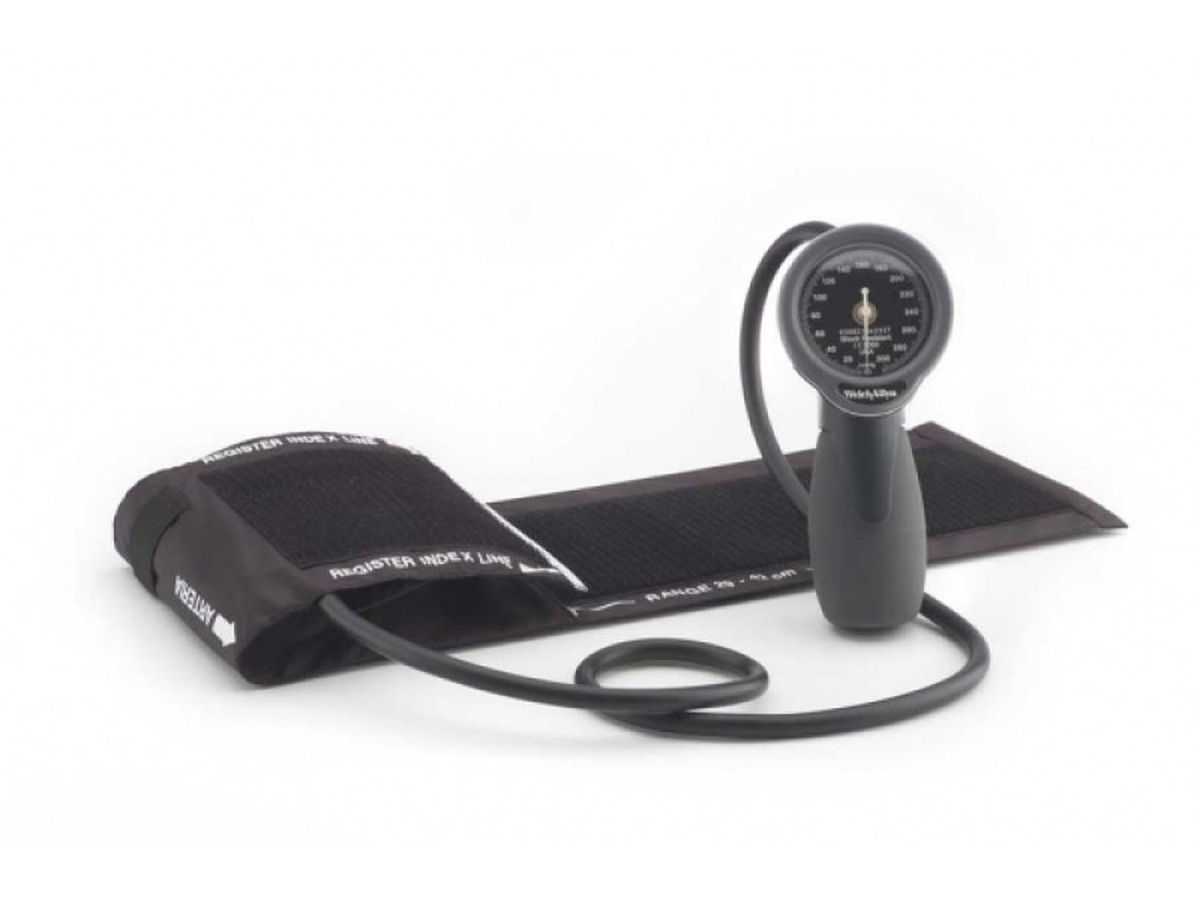
The Welch Allyn DuraShock series represents a significant advancement in aneroid sphygmomanometer design, incorporating patented shock-resistant technology that extends device accuracy and lifespan in demanding clinical environments. Unlike traditional aneroid mechanisms that use delicate gear systems susceptible to damage from drops and impacts, the DuraShock utilizes a proprietary gear-free movement that can withstand drops from 30 inches onto hard surfaces without calibration shift.
For biomedical technicians, understanding the unique construction of DuraShock aneroids is essential for effective maintenance, calibration verification, and troubleshooting. This guide covers the DS44, DS45, DS54, DS55, DS65, and DS66 models, which share common mechanical principles while differing in features such as trigger mechanisms, mounting configurations, and cuff systems.
DuraShock Model Overview
| Model | Size | Inflation | Typical Use |
|---|---|---|---|
| DS44 | Desktop | Squeeze bulb | Clinic room, desktop configuration |
| DS45 | Desktop | Squeeze bulb | Basic clinical use |
| DS54 | Handheld | Squeeze bulb | Mobile use |
| DS55 | Handheld | Squeeze bulb | Ambulatory care |
| DS65 | Squeeze bulb | EMS, home visits | |
| DS66 | Pocket trigger | Trigger | One-handed operation |
Calibration Verification Procedures
Required Equipment
- Precision manometer or pressure calibrator (0.5 mmHg accuracy, NIST-traceable)
- Y-connector with luer fittings
- Hand inflation bulb (if testing with manometer lacking integral bulb)
- Leak test equipment (optional but recommended)
Calibration Frequency Requirements
AAMI (Association for the Advancement of Medical Instrumentation) and manufacturer guidelines recommend:
- Initial Calibration: Upon receipt before clinical use
- Periodic Verification: Semi-annually (every 6 months) for devices in active clinical use
- Post-Impact Verification: After any suspected drop or impact event
- Post-Repair Verification: After any maintenance involving pneumatic components
Step-by-Step Calibration Procedure
Step 1: Visual Pre-Inspection
- Examine gauge face for cracks, moisture, or fogging inside crystal
- Inspect pointer for proper zeroing (should rest at 0 ±2 mmHg with no pressure applied)
- Check pneumatic tubing for cracks, hardening, or deterioration
- Inspect valve assembly for damage or contamination
- Verify cuff bladder integrity (no holes, excessive wear, or bladder adhesion)
- Test inflation bulb for adequate pumping action
Step 2: Zero Pressure Verification
- Position gauge at eye level in vertical orientation (as designed for clinical use)
- Ensure all pneumatic connections open to atmosphere (cuff disconnected)
- Observe pointer position—should read 0 mmHg ±3 mmHg
- If outside tolerance, proceed to zero adjustment (see troubleshooting section)
- Document zero reading on calibration form
Step 3: Static Pressure Testing
- Connect Y-connector to device cuff port
- Connect precision manometer to one leg of Y-connector
- Connect inflation source to second leg
- Slowly inflate system to 50 mmHg as measured by reference manometer
- Allow pressure to stabilize for 5 seconds
- Read DuraShock gauge and record value
- Calculate error: DuraShock reading minus reference manometer reading
- Repeat at test points: 100, 150, 200, 250, 300 mmHg
Step 4: Acceptance Criteria
Per AAMI SP9:2013 standards for aneroid sphygmomanometers:
| Pressure Range | Maximum Allowable Error |
|---|---|
| 0-100 mmHg | ±3 mmHg |
| 100-200 mmHg | ±3 mmHg |
| 200-300 mmHg | ±4 mmHg |
If any measurement exceeds tolerance, device requires adjustment or repair. Do not return to clinical service until within specification.
Step 5: Hysteresis Testing
Hysteresis refers to differences in readings between increasing and decreasing pressure cycles—indicates mechanical friction or binding in gauge movement.
- Inflate system to 260 mmHg
- Record DuraShock reading at 250, 200, 150, 100, 50 mmHg while slowly deflating
- Compare to earlier readings during inflation cycle
- Acceptable hysteresis: <3 mmHg difference at each pressure point
- Excessive hysteresis indicates mechanical problems requiring service
Step 6: Rapid Deflation Test
- Inflate to 200 mmHg
- Rapidly open deflation valve (complete deflation in <1 second)
- Observe pointer return—should drop smoothly to zero without oscillation or sticking
- Repeat 3 times to verify consistent performance
- Jerky motion or failure to return to zero indicates mechanical binding
Common Problems and Resolutions
Problem: Zero Error (Pointer Not at Zero with No Pressure)
Symptoms: With no pressure applied, pointer rests above or below zero mark by >3 mmHg
Root Cause: Mechanical shift from impact, thermal expansion, or internal spring tension change
Resolution:
- Remove gauge from housing by releasing retaining ring
- Locate zero adjustment screw on rear of movement (small slotted screw, typically blue or green thread-locker)
- With no pressure applied, use jeweler's screwdriver to rotate adjustment screw: Clockwise rotation moves pointer up scale, Counterclockwise rotation moves pointer down scale
- Make small adjustments (1/8 turn increments) and observe pointer position
- When pointer centers on zero ±1 mmHg, apply small amount of thread-locker to secure adjustment
- Reassemble and repeat complete calibration verification
Problem: Consistent Offset Error (All Readings High or Low by Fixed Amount)
Symptoms: Device reads consistently higher or lower than reference by constant offset (e.g., all readings +5 mmHg)
Root Cause: Internal linkage adjustment error or spring tension change
Resolution:
- Verify zero setting is correct first
- If zero is correct but offset exists at higher pressures, internal span adjustment required
- This adjustment requires partial disassembly and should only be performed by trained technicians
- Locate span adjustment mechanism (varies by model—consult service manual)
- Apply reference pressure of 200 mmHg
- Adjust span control until gauge reads correctly at 200 mmHg
- Recheck zero and make fine adjustment if needed
- Repeat complete calibration verification
Problem: Non-Linear Error (Varying Error Across Pressure Range)
Symptoms: Error changes across pressure range—may be within tolerance at some points, outside at others
Root Cause: Mechanical damage to movement, gear system wear (note: DuraShock is gear-free but has linkage that can wear), or contamination in movement
Resolution:
- Non-linear errors typically indicate significant mechanical damage
- Attempt thorough cleaning: Disassemble gauge movement, Clean with contact cleaner to remove any oil or contamination, Reassemble and recalibrate
- If error persists, gauge movement requires replacement
- DuraShock movements are available as replacement parts—more cost-effective than complete device replacement
Problem: Pneumatic Leaks
Symptoms: Unable to maintain pressure during calibration, slow pressure decay during testing, cuff deflates during clinical use
Diagnostic Procedures:
- Inflate system to 200 mmHg using calibration setup
- Close inflation bulb valve and isolate system
- Observe pressure over 60 seconds
- Acceptable leak rate: <5 mmHg per minute
- If excessive leak detected, systematically isolate components: Test cuff alone (inflate and submerge in water, observe for bubbles), Test tubing (visual inspection and submersion test), Test gauge (isolate gauge port and test independently), Test valve assembly (common failure point)
Resolution:
- Replace defective cuffs—cannot be reliably repaired
- Replace tubing if hardened, cracked, or leaking
- Valve assemblies can sometimes be serviced by cleaning or replacing O-rings
- Gauge leaks typically require gauge replacement
Preventive Maintenance Schedule
After Each Use (Clinical Staff)
- Wipe cuff exterior with approved disinfectant wipe
- Inspect for obvious damage
- Store in protective case or designated storage location
- Ensure valve in open position to prevent pressure retention
Weekly Checks
- Verify zero pointer position
- Test inflation bulb and valve function
- Visual inspection of cuff for wear
- Clean device exterior with disinfectant
Monthly Maintenance
- Detailed visual inspection of all components
- Functional pressure test to 200 mmHg
- Leak test
- Document findings in equipment log
Semi-Annual Calibration
- Complete calibration verification per procedures above
- Clean and lubricate valve assembly
- Replace cuff if showing wear (every 12-18 months typical)
- Update calibration records and apply labels
Component Replacement Guide
Cuff Replacement
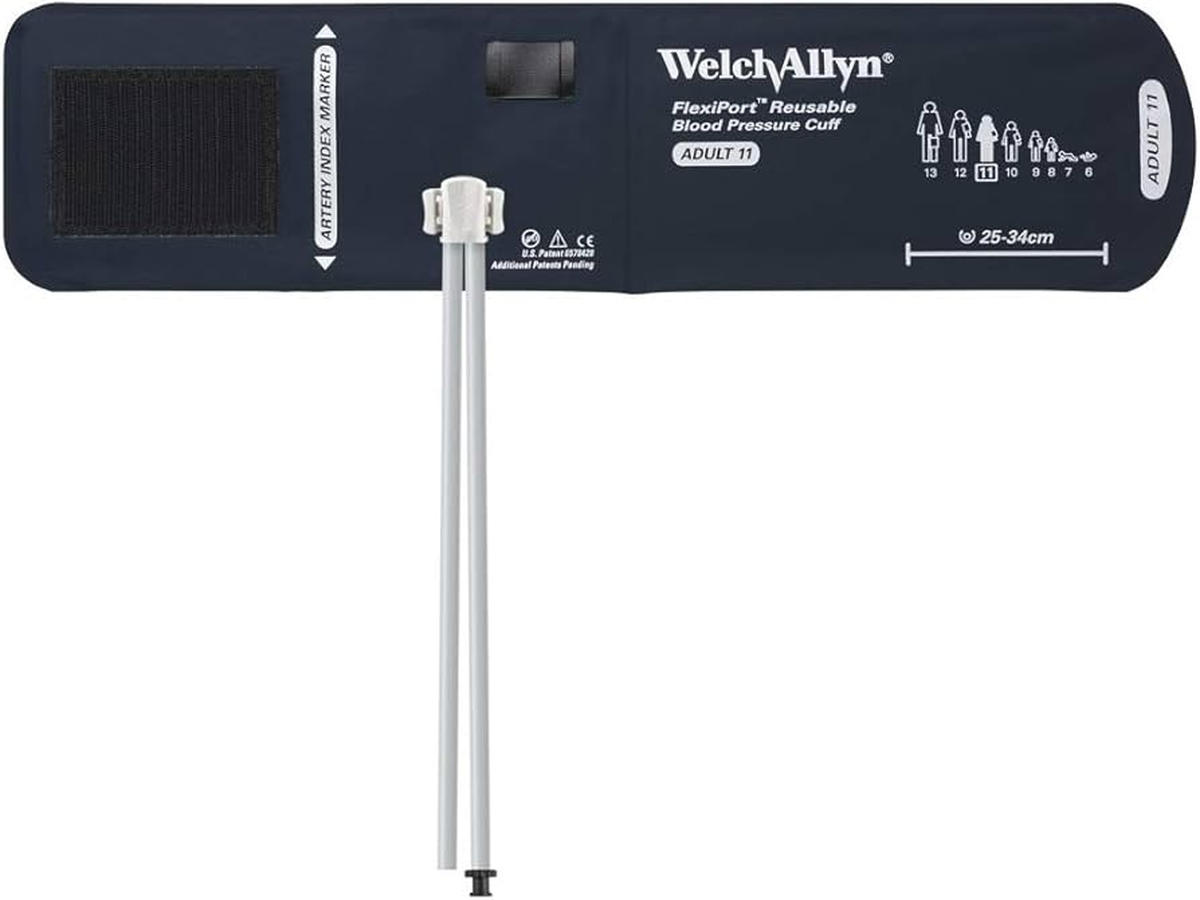
- Select appropriate cuff size: Small Adult (18-26 cm), Adult (23-33 cm), Large Adult (31-40 cm), Thigh (38-50 cm)
- Remove old cuff from device
- Inspect tubing connection port on gauge for damage
- Connect new cuff, ensuring secure connection with no leaks
- Perform leak test to verify proper installation
- Document cuff replacement with part number and date
Inflation Bulb and Valve Replacement
- Disconnect tubing from gauge
- Remove inflation bulb assembly (typically threaded connection to valve)
- Install new bulb assembly, ensuring proper threading and seal
- Reconnect to gauge
- Test inflation and controlled deflation function
- Perform leak test
Gauge Movement Replacement
- Remove gauge retaining ring using spanner tool or edge tool
- Carefully remove gauge from housing without damaging pointer or face
- Disconnect pneumatic connection to gauge rear port
- Install new gauge movement, ensuring proper seating and pneumatic seal
- Reinstall retaining ring
- Perform complete calibration verification before clinical use
DuraShock Advantages and Limitations
Advantages
- Impact Resistance: Maintains calibration despite drops from 30 inches—significant advantage in busy clinical environments where drops are inevitable
- Extended Calibration Intervals: Gear-free design reduces mechanical wear, allowing longer intervals between calibrations in stable environments
- Durability: Internal movement protected by shock absorption system extends overall device lifespan
- No Power Required: Unlike automated devices, aneroids require no batteries or AC power
Limitations
- Skill Required: Proper auscultation technique essential for accurate measurement—operator-dependent results
- Maintenance Needs: Regular calibration verification still required despite shock resistance
- Environmental Sensitivity: Extreme temperatures can affect accuracy (optimal range: 50-104°F)
- Gradual Drift: Even DuraShock devices eventually drift and require adjustment or replacement
Infection Control Considerations
Cleaning Procedures
- Gauge and Housing: Wipe with EPA-approved disinfectant (quaternary ammonium or 70% isopropyl alcohol). Do not spray directly on gauge face—apply disinfectant to cloth first
- Cuff: Wipe exterior with disinfectant. Replace cuff between patients when possible. Consider disposable single-use cuffs for isolation patients
- Inflation Bulb and Tubing: Wipe with disinfectant. Replace if visibly soiled or contaminated
- Do Not Immerse: Never submerge aneroid gauges in liquid—will damage internal mechanism
Documentation and Record Keeping
Required Records
Maintain comprehensive records for regulatory compliance and trending analysis:
- Device identification (model, serial number, facility asset number)
- Calibration dates and results (all pressure points tested)
- Technician performing calibration
- Test equipment used (model, serial, calibration date)
- Pass/fail determination
- Corrective actions taken
- Component replacements (dates, part numbers)
- Maintenance activities and findings
Trending Analysis
Plot calibration errors over time to identify degradation patterns:
- Gradual drift in consistent direction indicates mechanism wear—plan for replacement
- Sudden shifts suggest impact damage even if device passes current calibration
- Increasing hysteresis indicates mechanical friction developing
Frequently Asked Questions
⚠ Safety and Compliance
Calibration Compliance
- Devices failing calibration must be removed from clinical service immediately
- Apply "Out of Calibration" labels to failed devices
- Never adjust calibration to barely pass tolerances—replace devices showing significant drift
- Maintain calibration records per facility requirements (minimum 2 years, 7 years recommended)
Clinical Safety
- Train clinical staff on proper cuff sizing and placement
- Emphasize importance of proper auscultation technique
- Establish protocols for verifying questionable readings with alternate method
- Never use damaged devices—broken gauge crystals or leaking cuffs compromise accuracy
Infection Control
- Clean devices between patients per facility protocols
- Replace cuffs if visibly soiled or contaminated
- Use barrier protection for isolation patients
- Do not share devices between isolation and general patient areas without proper disinfection
Legal Disclaimer: This maintenance guide is for qualified biomedical technicians. Always consult manufacturer service manuals and follow institutional policies. Improper maintenance may result in inaccurate measurements and compromise patient care.