Understanding the ProBP Platform
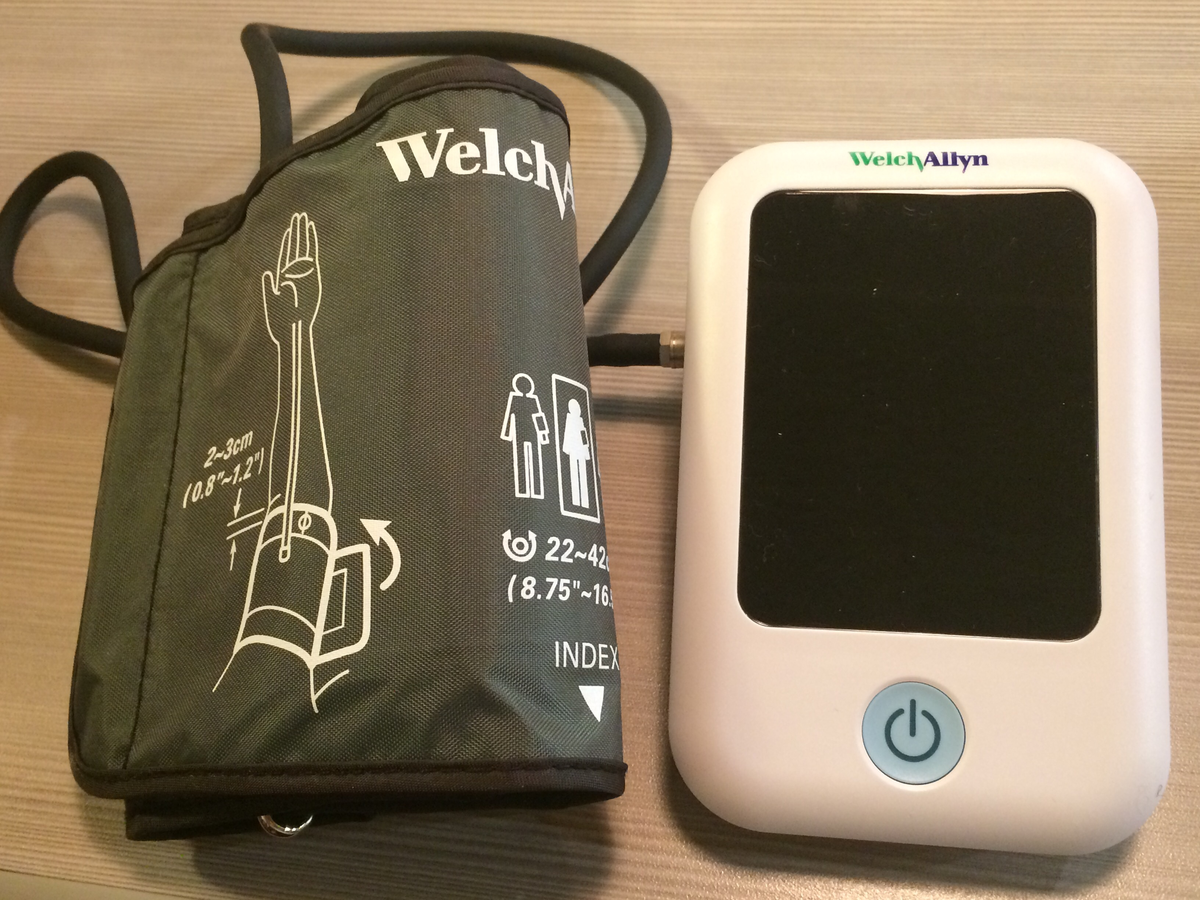
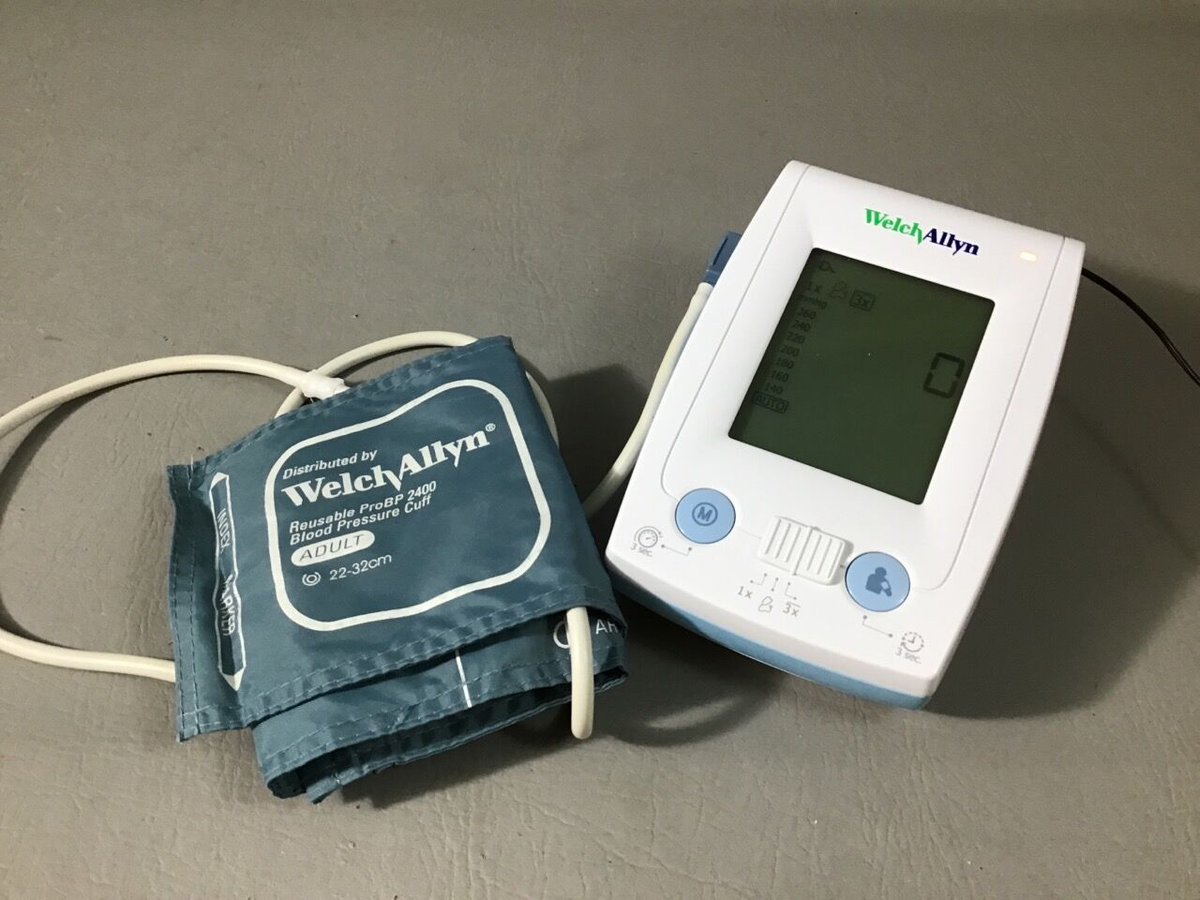
The Welch Allyn ProBP series represents professional-grade blood pressure monitoring technology designed for clinical environments requiring frequent, accurate measurements. Available in configurations including the ProBP 2000, ProBP 2400, and ProBP 3400, these devices incorporate Welch Allyn's proprietary SureBP® technology for rapid, accurate measurements even in challenging conditions with patient motion or irregular heartbeat.
Unlike home blood pressure monitors that prioritize simplicity, ProBP devices are engineered for high-volume clinical use with features including multiple cuff size support, data connectivity options, durable construction, and comprehensive diagnostic capabilities essential for biomedical technicians responsible for calibration and maintenance.
ProBP Series Model Comparison
| Feature | ProBP 2000 | ProBP 2400 | ProBP 3400 |
|---|---|---|---|
| Display Type | LCD | LED | Digital LCD |
| Power Options | AC only | AC or rechargeable battery | AC or rechargeable battery |
| Connectivity | None | USB | USB + Network |
| Memory | Last reading only | 50 readings | 100 readings |
| Configuration | Fixed | Basic programmable | Advanced programmable |
| Typical Use | Desk-mounted, basic BP | Mobile cart, moderate use | Networked systems, high volume |
Initial Setup and Configuration
Physical Installation
Desk/Wall Mount Configuration:
- Select installation location ensuring: access to AC power within 6 feet without extension cords, clearance for cuff inflation (minimum 3 feet from walls/obstructions), height appropriate for seated patients (typically 36-42 inches)
- For wall mounting, locate studs and use appropriate mounting hardware rated for minimum 10 lbs
- For desk mounting, ensure stable, level surface with non-slip pad if needed
- Route power cable to avoid pinch points or trip hazards
- Install cuff holder bracket if supplied, positioned for easy access by clinical staff
Mobile Cart Configuration (ProBP 2400/3400):
- Assemble cart per manufacturer instructions, ensuring all fasteners torqued to specification
- Mount device to cart bracket using security fasteners (theft deterrent)
- Route cables through cable management system
- Install power supply in lower compartment of cart with strain relief
- For battery-powered operation, install and charge battery pack per procedures below
Power System Setup
AC Power Verification:
- Verify facility power: 100-240VAC, 50-60Hz (ProBP devices have universal power supplies)
- Connect power supply to device and facility power
- Power on device and verify correct operation (display illuminates, self-test completes)
- Measure input voltage and current draw using multimeter—typical: 120VAC @ 0.3A = 36W maximum power consumption
Battery System Setup (ProBP 2400/3400 with optional battery):
- Install battery pack in battery compartment (typically under device or in cart)
- Connect battery harness to device power input
- Perform initial conditioning charge: Full discharge followed by uninterrupted 8-hour charge
- Verify battery status indicator functions correctly: Green=full charge, Yellow=charging, Red=low battery
- Document initial battery capacity by running continuous measurement cycles until battery depleted—should achieve minimum 4 hours continuous operation (60 measurement cycles typical)
Network Configuration (ProBP 3400)
Wired Ethernet Setup:
- Obtain network configuration from facility IT: Static IP address (recommended for medical devices), subnet mask, default gateway, DNS servers (primary and secondary)
- Connect Ethernet cable from device to facility network switch/jack
- Access device configuration menu: Press and hold "Mode" and "Power" buttons for 5 seconds
- Navigate to Network Settings using arrow buttons
- Enter IP configuration: Select "Manual IP" (avoid DHCP for medical devices due to address expiration issues), Enter IP address, Enter subnet mask, Enter gateway, Enter DNS servers
- Save configuration and reboot device
- Verify connectivity: Access diagnostics menu, Select "Network Test", Verify successful ping to gateway and DNS servers
- Work with facility IT to configure firewall rules for data transmission to electronic medical record (EMR) systems
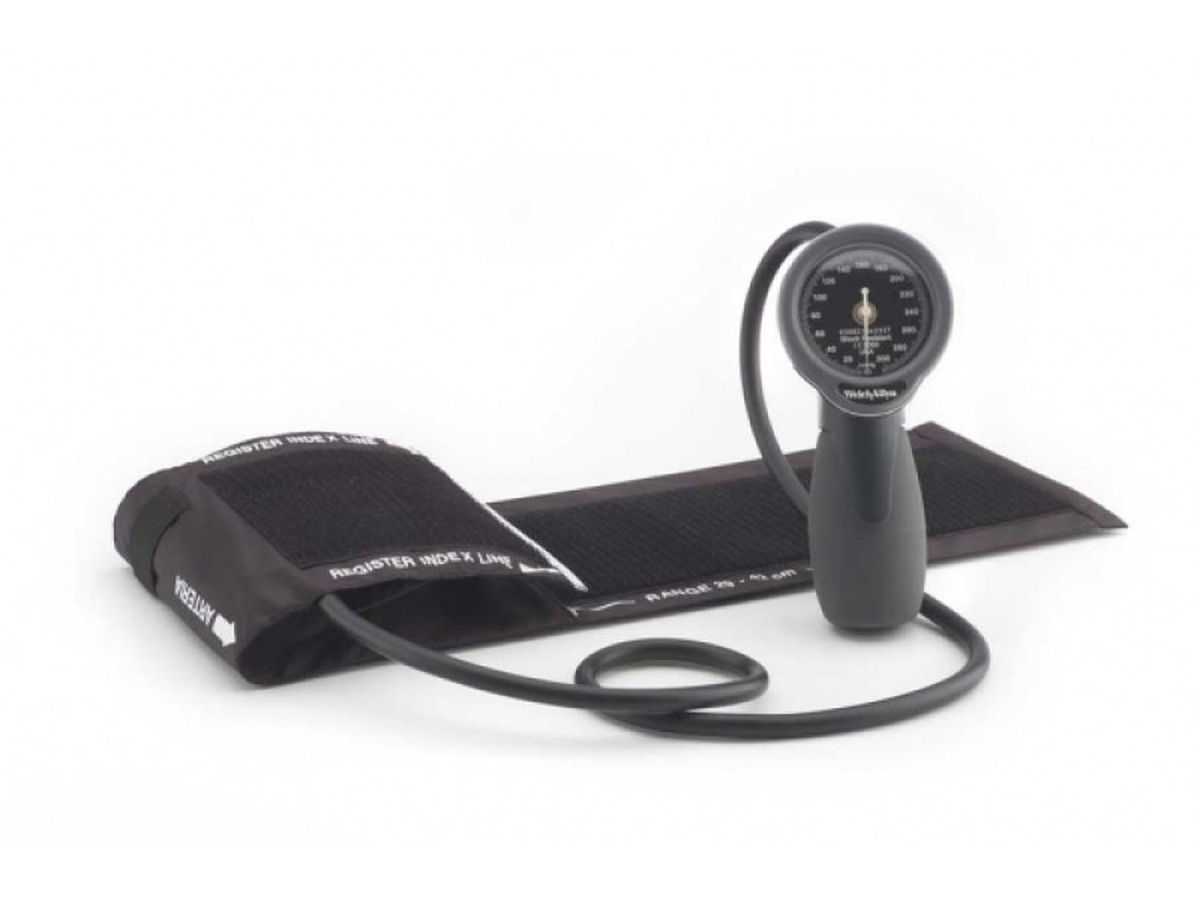
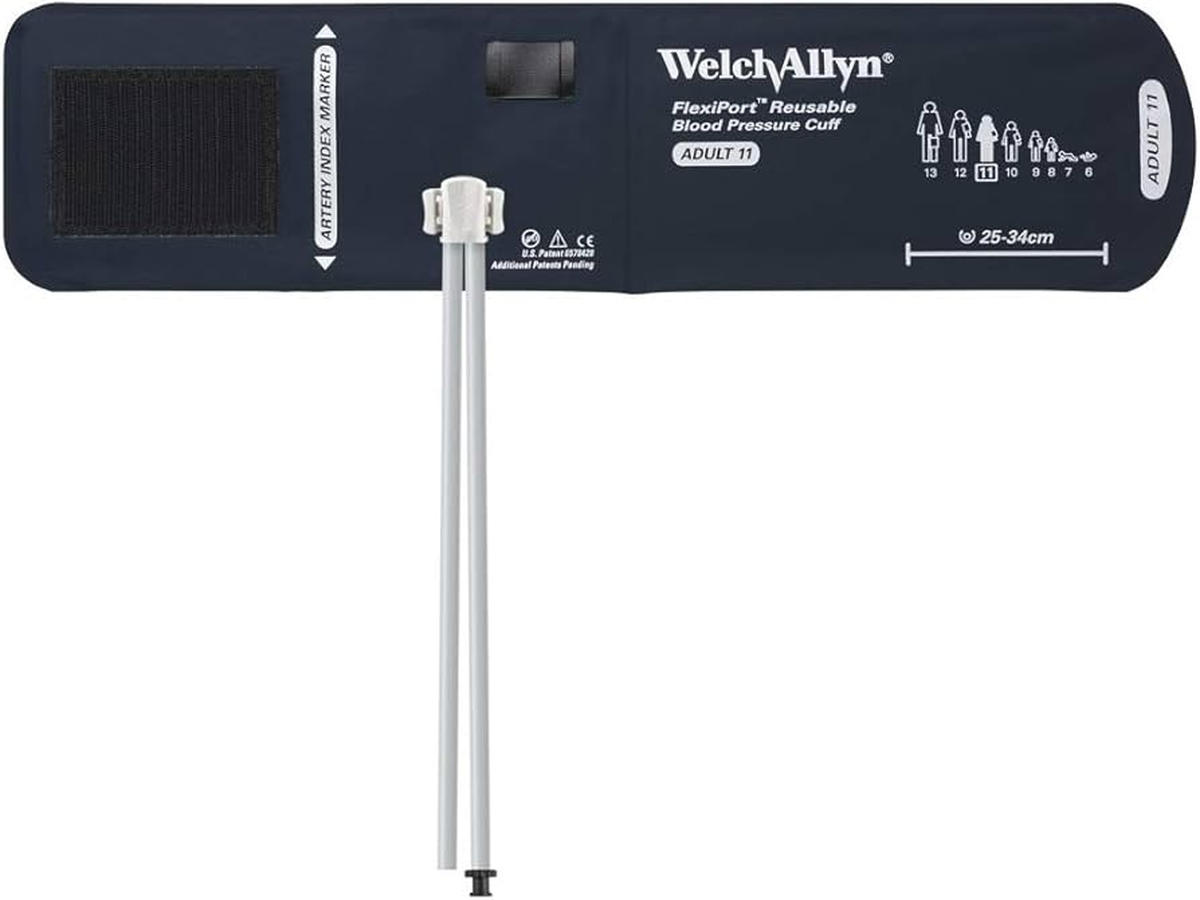
Cuff System Setup
FlexiPort Cuff System:
- Inspect FlexiPort connector on device for damage or debris
- Select appropriate cuff size based on patient population: Small Adult (18-26 cm), Adult (23-33 cm), Large Adult (31-40 cm), Thigh (38-50 cm)
- Attach cuff to FlexiPort connector with firm press until audible click
- Verify secure connection by gentle tug—cuff should not detach with normal force
- Test pneumatic system: Place cuff around cylindrical object (rolled towel approximating arm circumference), Initiate measurement cycle, Observe proper inflation to approximately 180 mmHg, Verify controlled deflation and measurement completion
- Document cuff serial numbers and assignment to specific devices for tracking
Calibration Procedures
Required Equipment
- Blood pressure simulator (FlukeBiomedical ProSim 8, SunTech CT-40, or equivalent)
- Precision manometer (0.5 mmHg accuracy, NIST-traceable calibration)
- Y-connector for simultaneous measurement
- Laptop with calibration software (if using automated test systems)
- Documentation forms and labels
Calibration Frequency
- Initial Calibration: Upon receipt from manufacturer before clinical use
- Periodic Calibration: Annually at minimum, semi-annually for high-use environments (>50 measurements/day)
- Post-Repair Calibration: After any service involving pneumatic system components, sensors, or software updates
- Verification Checks: Quarterly using blood pressure simulator to verify continued accuracy between formal calibrations
Pre-Calibration Checks
- Visual inspection for physical damage, worn components, or obvious defects
- Verify device has warmed up minimum 15 minutes after power-on
- Perform functional self-test per device menu options
- Document device information: Model number, Serial number, Software version, Last calibration date
- Verify test equipment current calibration—do not use expired calibration equipment
Step-by-Step Calibration Procedure
Step 1: Zero Pressure Calibration
- Access biomedical service menu: Press and hold "Mode" + "Start/Stop" buttons for 10 seconds, Enter service code (contact Welch Allyn technical support for current code)
- Navigate to "Calibration" submenu
- Select "Zero Calibration"
- Ensure cuff is detached and pneumatic port open to atmosphere
- Initiate zero calibration routine—device will measure atmospheric pressure and set zero reference
- Verify successful completion ("Zero Cal Complete" message)
Step 2: Pressure Transducer Calibration
- Connect blood pressure simulator to device cuff port using Y-connector
- Connect precision manometer to second leg of Y-connector for verification
- Configure simulator for static pressure mode
- In service menu, select "Transducer Calibration"
- Follow on-screen prompts to measure reference pressures: 0 mmHg (atmospheric), 50 mmHg, 100 mmHg, 150 mmHg, 200 mmHg, 250 mmHg
- At each pressure point: Set simulator to specified pressure, Verify manometer reading matches (±0.5 mmHg), Press "Accept" on device to record calibration point, Wait for device to advance to next pressure
- Upon completion, device calculates calibration curve and stores in non-volatile memory
- Verify "Transducer Cal Complete" message
Step 3: Algorithm Verification
- Configure blood pressure simulator for dynamic mode with simulated arterial pulsations
- Program simulator for test sequence: 80/50 mmHg @ 60 BPM, 120/80 mmHg @ 72 BPM, 160/95 mmHg @ 88 BPM, 200/110 mmHg @ 100 BPM
- For each test point: Initiate measurement on ProBP device, Allow device to complete full measurement cycle (inflation, measurement, deflation), Record device readings for systolic, diastolic, and pulse rate, Record simulator reference values, Calculate error: Device reading minus simulator setting
- Acceptable performance (per ISO 81060-2:2018): Systolic and Diastolic: Mean error ≤5 mmHg, Standard deviation ≤8 mmHg, Pulse Rate: ±3 BPM or ±5%, whichever is greater
Step 4: Motion Tolerance Testing (SureBP Feature Verification)
- Configure simulator for motion artifact mode (if available) or use manual motion simulation
- Set simulator to 120/80 mmHg @ 72 BPM with moderate motion
- Initiate ProBP measurement—SureBP should complete successfully despite motion
- Verify reading accuracy within ±5 mmHg despite motion artifact
- Document SureBP algorithm function confirmation
Step 5: Safety Limit Verification
- Configure device for maximum inflation test
- Attach cuff to test cylinder and initiate measurement
- Device should automatically limit maximum inflation to 300 mmHg ±10 mmHg as safety cutoff
- Verify device aborts measurement if pressure exceeds safety limit
- Document safety system function
Step 6: Documentation and Labeling
- Complete calibration record including: Device identification (model, serial number), Calibration date and next due date, Technician name and signature, Test equipment used (model, serial, cal date), All measurement data and acceptance criteria, Pass/fail determination, Any corrective actions taken
- Apply calibration label to device: "Calibration Date: [date]", "Next Calibration Due: [date]", "Calibrated By: [tech initials]", Facility asset tag if applicable
- Update facility asset management database with calibration completion
- Archive calibration records per regulatory requirements (minimum 2 years, 7 years recommended)
Common Calibration Failures and Corrections
Failure: Pressure Readings Consistently High or Low
Probable Cause: Sensor drift, pneumatic leak, or transducer calibration error
Resolution:
- Perform zero calibration to reset atmospheric pressure reference
- Repeat transducer calibration with careful attention to proper Y-connector installation (leaks cause errors)
- If error persists after recalibration, suspect sensor hardware failure—requires replacement of pressure transducer module (authorized service only)
- For small consistent offsets (<10 mmHg), some ProBP models allow offset adjustment in service menu to compensate for minor sensor drift
Failure: Measurements Time Out or Show Excessive Variability
Probable Cause: Algorithm processing issues, simulator setup errors, or pneumatic system leaks
Resolution:
- Verify blood pressure simulator is configured correctly for dynamic mode with realistic arterial pulse simulation
- Check all pneumatic connections for leaks—apply leak detection solution to connections
- Ensure cuff is properly installed on test cylinder with appropriate size/fit
- Verify software version is current—update firmware if available
- If issues persist, SureBP algorithm may require reinitialization (factory service)
Failure: Motion Tolerance Performance Degraded
Probable Cause: Algorithm parameters corrupted, sensor noise, or software version outdated
Resolution:
- Update device firmware to latest version—motion tolerance algorithms continuously improved in updates
- Perform complete factory reset to restore algorithm parameters to default
- Recalibrate device after reset
- If motion tolerance still fails, contact Welch Allyn technical support—may require return for advanced diagnostics
Preventive Maintenance Schedule
Monthly Checks
- Quick verification test using blood pressure simulator at 120/80 mmHg
- Visual inspection of cuffs, cables, and housing
- Clean device exterior with approved disinfectant
- Battery performance check (if equipped)—verify >3 hour runtime
- Network connectivity test (ProBP 3400)
Quarterly Checks
- Extended verification at multiple pressure points (80/50, 120/80, 160/95 mmHg)
- Pneumatic leak test
- Battery conditioning cycle (if equipped)
- Cuff inspection and potential replacement
- Software update check and installation if available
Annual Checks
- Complete formal calibration per procedures above
- Comprehensive functional testing
- Electrical safety testing (leakage current, ground resistance per IEC 60601-1)
- Cuff replacement regardless of condition (for clinical environments)
- Battery replacement if capacity <70% of original specification (typically 2-3 years)
- Update all documentation and asset management records
Troubleshooting Guide
Problem: "Cuff Error" Message
- Check FlexiPort connection—disconnect and reconnect until audible click
- Inspect cuff for damage, holes, or deteriorated bladder
- Test with known good cuff—if error clears, replace original cuff
- If error persists with good cuff, FlexiPort connector or sensor may be damaged—requires service
Problem: Network Connectivity Lost (ProBP 3400)
- Verify physical Ethernet connection secure
- Check network settings match facility IT configuration
- Perform network diagnostic test from device menu
- Verify firewall rules allow device communication
- Work with IT to verify switch port configuration and VLAN assignment
Problem: Battery Not Charging
- Verify AC power connected and outlet functioning
- Check battery connections secure
- Measure charging voltage at battery terminals—should read 14-15VDC during charge
- If no charging voltage present, power supply or charge controller failed—requires service
- If charging voltage present but battery won't charge, battery end-of-life—replace battery
Frequently Asked Questions
⚠ Critical Safety Considerations
Calibration Safety
- Never return a device to clinical service if calibration fails or is out of tolerance
- Apply "Out of Calibration" labels immediately to failed devices
- Verify all test equipment has current calibration before use
- Document all calibration activities completely for regulatory compliance
Clinical Safety
- Verify cuff size appropriate for patient population
- Train clinical staff on proper cuff application and device operation
- Establish protocols for addressing measurement failures or questionable readings
- Never exceed maximum cuff pressure (300 mmHg)—risk of patient injury
Electrical Safety
- Perform electrical safety testing annually per IEC 60601-1
- Verify proper grounding on all AC-powered configurations
- Test leakage current within acceptable limits (<300 μA normal condition)
- Document all electrical safety test results
Legal Disclaimer: This calibration guide is intended for qualified biomedical equipment technicians with appropriate training and equipment. Always consult manufacturer service manuals and follow institutional policies. Improper calibration may result in inaccurate clinical measurements and patient harm.